1. Getting Started with Lift
1.1. Download
To download Lift to your local machine perform the following steps:
Ensure that
gitandgit-lfsare installed on your machineLift is distributed via https://github.com using the
gitversion control system [1].To download Lift to your computer you, therefore, have to first ensure that you have
gitandgit-lfsinstalled on your system:> git --version > git lfs version
If this prints out an error message instead of an version number, you should install
gitandgit-lfsvia you Linux distribution’s package manager or from the official webpages [2] [3].Clone the Lift git repository
Run the following command to clone the repository:
> git clone https://github.com/lift-project/lift.git
This will download the repository in a directory called
liftin the current working directory.
Links
| [1] | If you want to learn more about github and git this site is a good starting point: https://help.github.com/articles/good-resources-for-learning-git-and-github/ |
| [2] | Git Version Control System https://git-scm.com/ |
| [3] | Git Large File Storage https://git-lfs.github.com/ |
1.2. Installation
There are two main options how to install Lift:
- Maybe the easiest options is to install it via
dockerbut unfortunately, accessing GPUs fromdockermight be an issue. - For proper development we recommend to install Lift natively which provides the most flexibility but might require a bit more time to setup.
Note
Lift currently is only supported on Linux machines
1.2.1. Installation via Docker
Docker is a technology which allows to package software with all its dependencies into a container.
We have bundled Lift an all of its dependencies inside such a container.
The Lift container can be executed either directly via docker, which does not allow the execution of Lift programs on GPUs,
or via nvidia-docker, which allows the execution of Lift programs on Nvidia GPUs from inside the docker container.
Option A: Using plain docker
To create and use the Lift docker container follow these steps:
Install
dockerDocker requires a 64-bit Linux installation with a kernel version 3.10 or higher. Instructions to install docker can be found here: https://docs.docker.com/engine/installation/.
Build the Lift docker container image
To build the container image and giving it the name
liftexecute the following command from the Lift root directory.docker build -t lift docker
Run the Lift docker container
To run the container in with an interactive shell execute the following command from the Lift root directory.
docker run -it --rm -v `pwd`:/lift lift
This command makes the current directory accessible inside the container under the path
/lift. The container will be deleted after you exit the interactive shell. Changes to the files in the/liftdirectory of the container are persistent while all other changes inside the container are not.Compile Lift and run the test suite
You are now ready to compile Lift and run the test suite to see if everything works as expected.
Option B: Using nvidia-docker
To create and use the Lift docker container with nvidia-docker follow these steps:
Install
dockerandnvidia-dockerDocker requires a 64-bit Linux installation with a kernel version 3.10 or higher. Instructions to install docker can be found here: https://docs.docker.com/engine/installation/.
nvidia-dockeris a plugin for docker which makes Nvidia GPUs accessible inside the container. Installation instructions fornvidia-dockercan be found here: https://github.com/NVIDIA/nvidia-docker/wiki/Installation.Build the Lift docker container image
To build the container image and giving it the name
liftexecute the following command from the Lift root directory.docker build -t lift nvidia-docker
Run the Lift docker container
To run the container in with an interactive shell execute the following command from the Lift root directory.
nvidia-docker run -it --rm -v `pwd`:/lift lift
This command makes the current directory accessible inside the container under the path
/lift. The container will be deleted after you exit the interactive shell. Changes to the files in the/liftdirectory of the container are persistent while all other changes inside the container are not.Compile Lift and run the test suite
You are now ready to compile Lift and run the test suite to see if everything works as expected.
1.2.2. Native Installation
Lift has a number of dependencies which have to be installed first before compiling and using Lift.
Dependencies
Lift has the following dependencies:
- OpenCL
- CMake and a C++ compiler (i.e.
gccorclang) - Java 8 SDK
SBT(the Scala Build Tool)
In the following we individually discuss how to install the dependencies.
OpenCL
OpenCL is a framework for programming heterogeneous devices such as GPUs. Lift currently generates OpenCL kernels, functions implemented in the OpenCL C programming language and executed in parallel. Therefore, you have to have a working OpenCL implementation for executing Lift programs.
Andreas Klöckner maintains a very good guide on how to install OpenCL for Linux: https://wiki.tiker.net/OpenCLHowTo.
CMake and a C++ Compiler
For Lift to communicate with OpenCL it relies on a small library which connects the Lift compiler implemented in Scala and running in the Java virtual machine to the C OpenCL implementation. To compile this library we need a C++ compiler and CMake.
A C++ Compiler should be easy to install via your Linux distribution’s package manager.
Similarly, CMake should be easy to install via your package manage. If not, CMake is easy to build from source as explained here: https://cmake.org/install/.
Java
Lift is implemented in Scala which is a programming language running on top of the Java virtual machine. Therefore, a Java installation is required for running Lift. The package manager of your Linux distribution will most likely provide a Java implementation. Oracle Java implementation is accessible here: http://www.oracle.com/technetwork/java/javase/downloads/index.html.
Note
Java 8 is required for Lift. This is a strict requirement!
To check the installed Java version run:
> java -version
and
> javac - version
Both commands should print "1.8.0" or newer.
If this is not the case you have to install a newer version of Java.
SBT
SBT, the Scala Build Tool, is a versatile tool for building Scala source code.
It downloads the exact version of the Scala compiler required by Lift.
It also handles all dependencies to Scala libraries.
To install SBT follow the instructions provided here: http://www.scala-sbt.org/0.13/docs/Installing-sbt-on-Linux.html.
1.3. Building Lift
After downloading the Lift repositroy and installing all dependencies (either directly or via docker) we will build the Lift compiler via sbt and to run all unit test to check if Lift is operating as expected.
1.3.1. Building the Lift Compiler
To build the Lift compiler simply run the following command from the repositroy root directory:
> sbt compile
- When executed the first time, this will:
- Bootstrap Scala by downloading the required Scala version;
- Download the
arithexpr[4] library used by the main Lift compiler; - Compile the native library used by Lift to communicate with OpenCL;
- Compile the Scala and Java files implementing the Lift compiler.
1.3.2. Running all unit tests
To run all unit tests simply run:
> sbt test
This might take a few minutes and should run without any tests failing.
You can read more about the unit tests in the section about Testing.
1.3.3. Configuring the IntelliJ IDEA IDE (optional)
If you want to use an integrated development environment (which might be a good choice if you are new to Lift or maybe Scala altogether) we recommend IntelliJ IDEA from Jetbrains.
There is a free Community edition of IDEA available to download from Jetbrains website. It is important to install the Scala plugin, which is possible as part of the first launch setup of IDEA.
To configure the Lift project in the IDE perform the following steps:
- Launch IDEA and select
"Import Project"from the launch screen: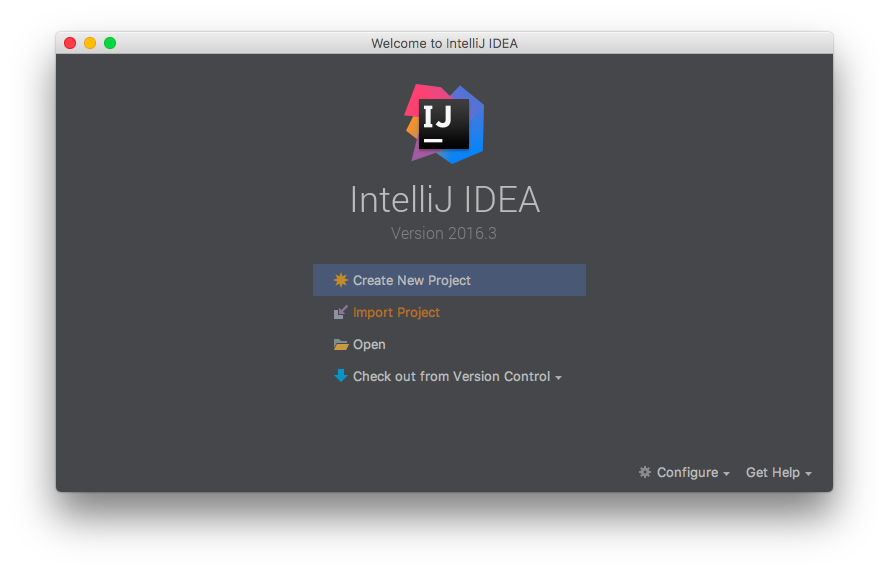
Or select
"File -> New -> Project from Existing Source ...":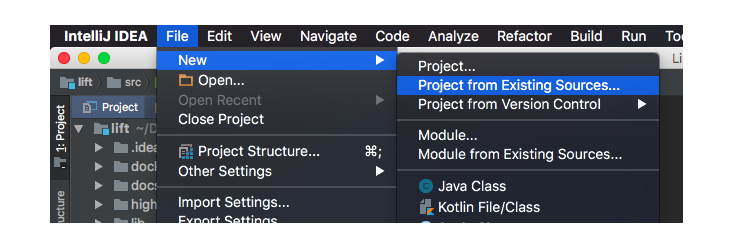
- Select the
build.sbtfile at the root of the Lift repositroy: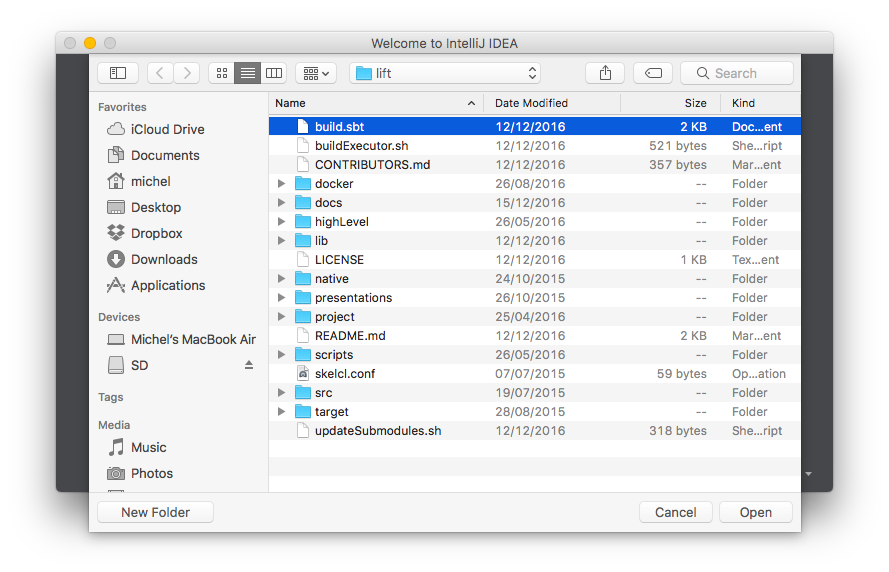
In the appearing
"Import Project from SBT"dialog ensure that there is a Project SDK selected with at least Java version 1.8: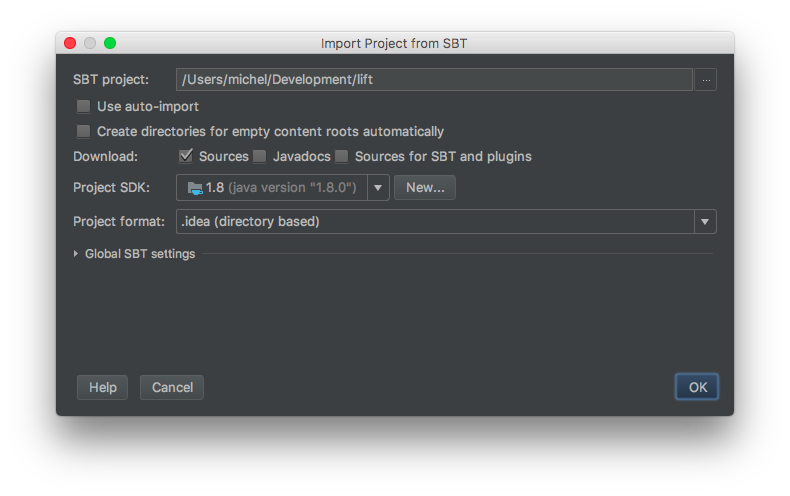
If this is not the case click
"New ..."next to Project SDK and select a Java SDK of version 1.8 or newer installed on your machine [5].Click
OKand alsoOKin the following dialog"SBT Project Data To Import":
- Click
"Run -> Edit Configurations"and then"Default -> JUnit"on the left pane of the dialog and add the following to"VM Options"on the right:
`-Djava.library.path=$LIFT_ROOT/lib/Executor/build/" (with the proper path from your system)`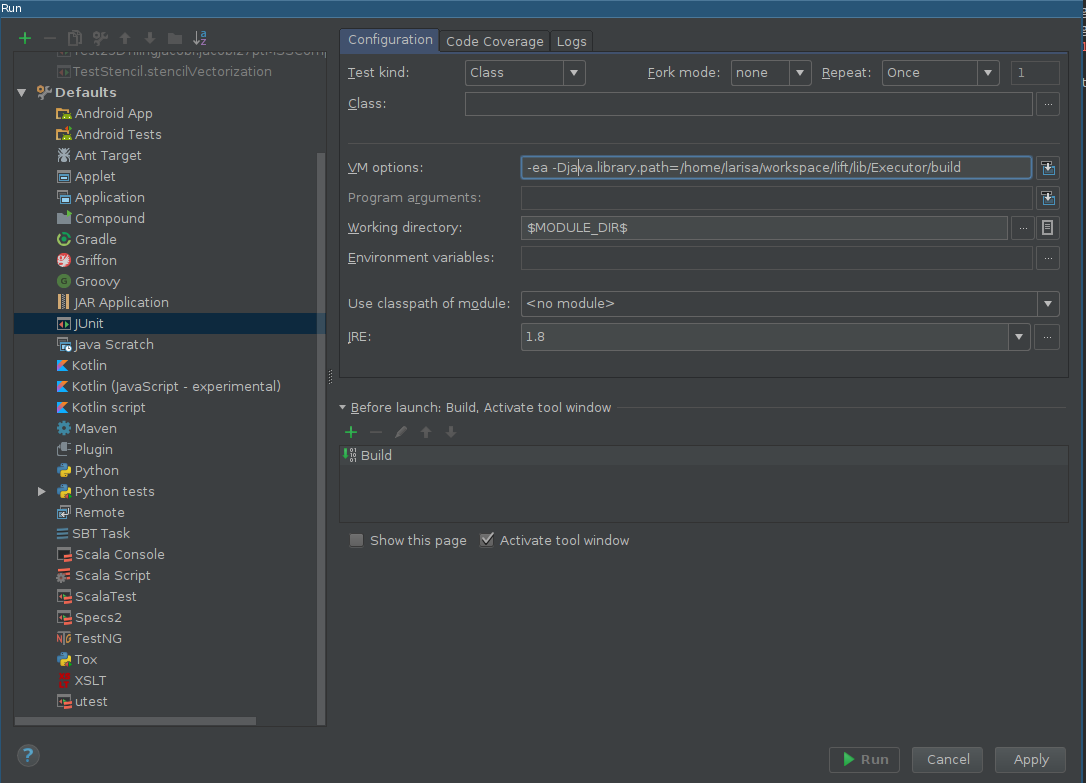 Alternatively, the
Executorbuild directory can be added directly to your LD_LIBRARY_PATH.
Click
"Build -> Build Project"to build the Lift compiler: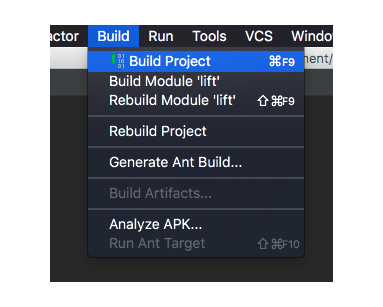
This is the equivalent action to
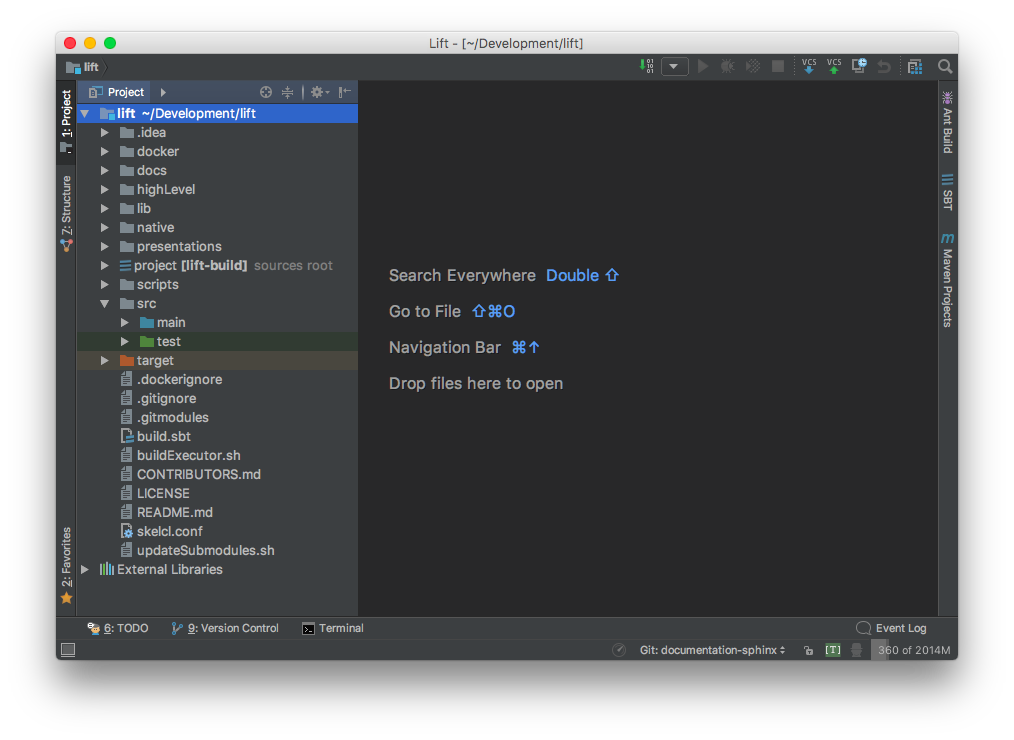
sbt buildon the command line.To run all unit tests unfold the project structure as shown in the picture:
Then right click on the
testfolder and select"Run 'All Tests'":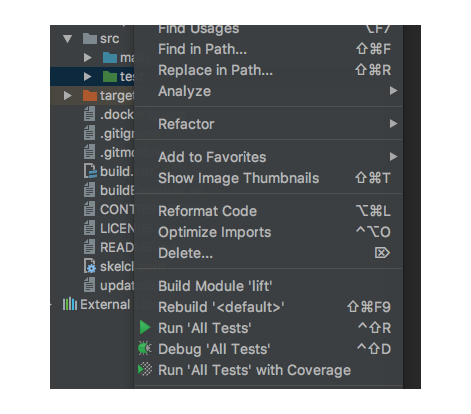
This is the equivalent action to
sbt teston the command line.
There is exhaustive documentation material for IDEA available at https://www.jetbrains.com/help/idea/2016.3/meet-intellij-idea.html, if you are unfamiliar with the IDE.
Links
| [4] | The arithexpr library is a Scala library developed by the Lift team and also hosted on github at https://github.com/lift-project/arithexpr. |
| [5] | You can read more about configuring SDKs in IDEA at https://www.jetbrains.com/help/idea/2016.3/sdk.html. |